
Data
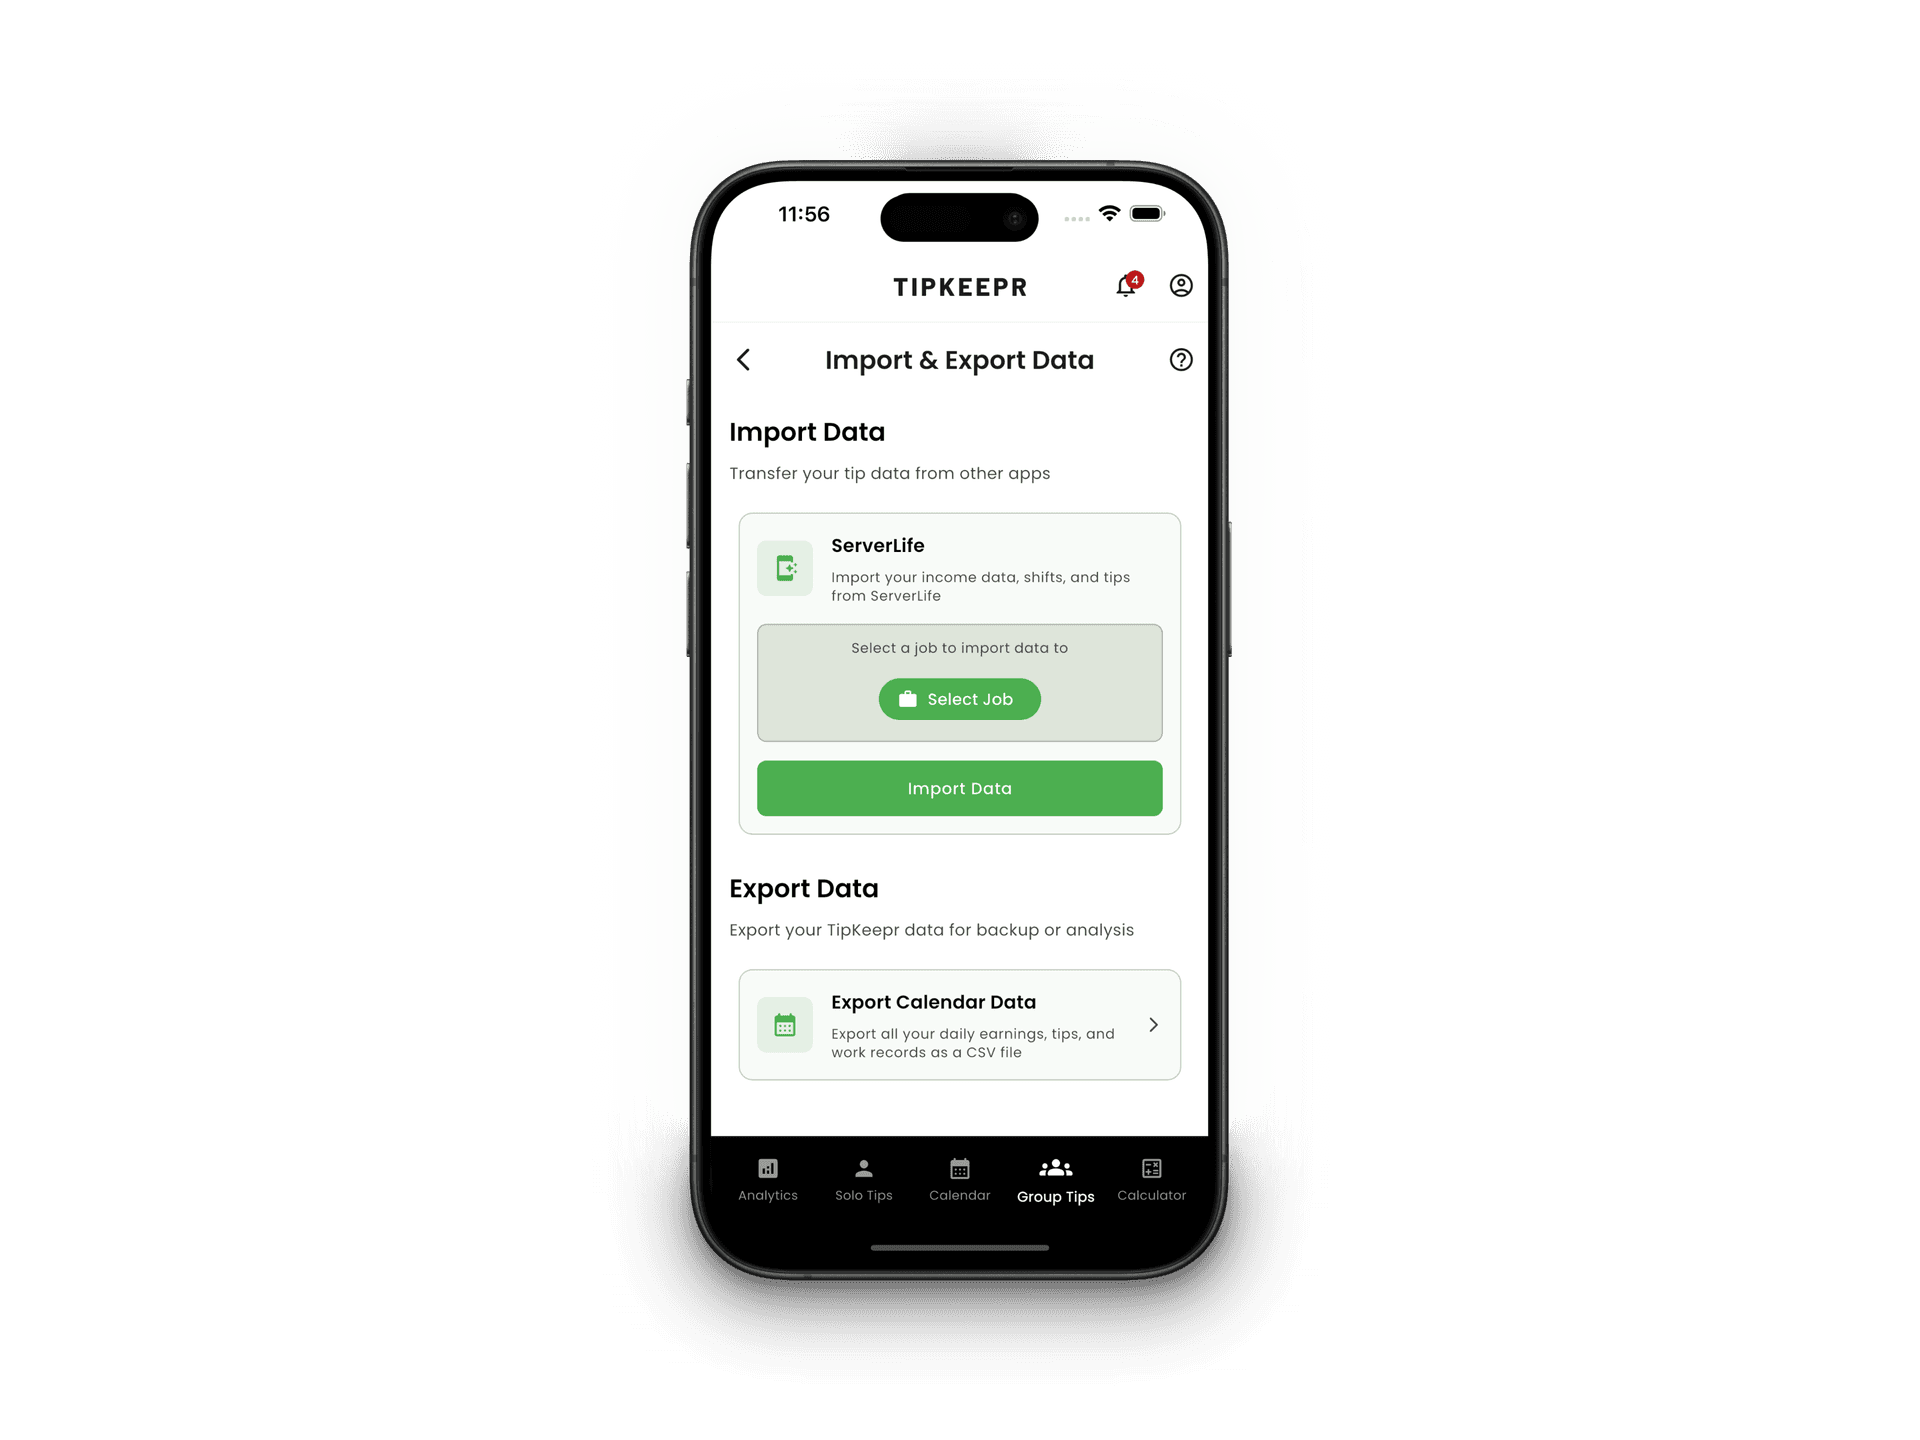
How to import ServerLife CSV data
TipKeepr can import the supported CSV format exported from ServerLife. The import is available on Free and Premium, so moving an existing history does not require a subscription.
5 min read
Step by step
- 1
Export your ServerLife data
Create the CSV file from ServerLife and keep the original file unchanged as a backup.
- 2
Open Import and Export Data
In TipKeepr, open the account menu, go to Settings, and choose the Import and Export Data area.
- 3
Choose the destination job
Select an existing TipKeepr job or create the job that should own the imported entries.
- 4
Select the CSV and import
Choose the ServerLife file, complete the import, and wait for the success confirmation.
- 5
Verify the calendar
Check several dates and totals against the source file before relying on the imported history.
Use the original ServerLife export
Editing column names, date formats, or the structure of the CSV can prevent the importer from recognizing the file. Keep an untouched copy so you can retry if needed.
The selected job matters
Imported entries are associated with the job chosen during the workflow. Create or select the correct job before starting, especially if you plan to use Premium multiple-job analytics later.
Check the result before deleting anything
Compare a sample of dates, cash and card amounts, and hours with the original export. Keep the source CSV until you are satisfied that the import reflects the expected records.